Key Components and Their Functions in a Profile Projector
In the world of making things with detail and accuracy, making sure Components are made with the right details is very crucial. Here comes the profile projector, a lesser-known but crucial tool for checking quality and accuracy. It’s also called an optical comparator or shadowgraph. This tool is good for checking the size and shape of parts in a way that normal measuring tools can’t. Let’s explore how profile projectors work and why they’re so important for making sure things are made with high quality.

Understanding Profile Projectors
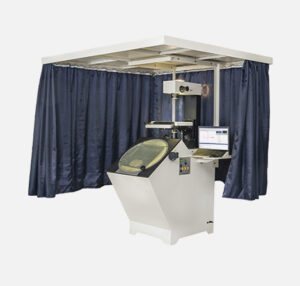
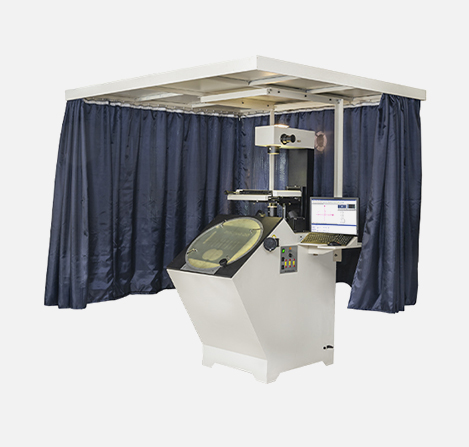
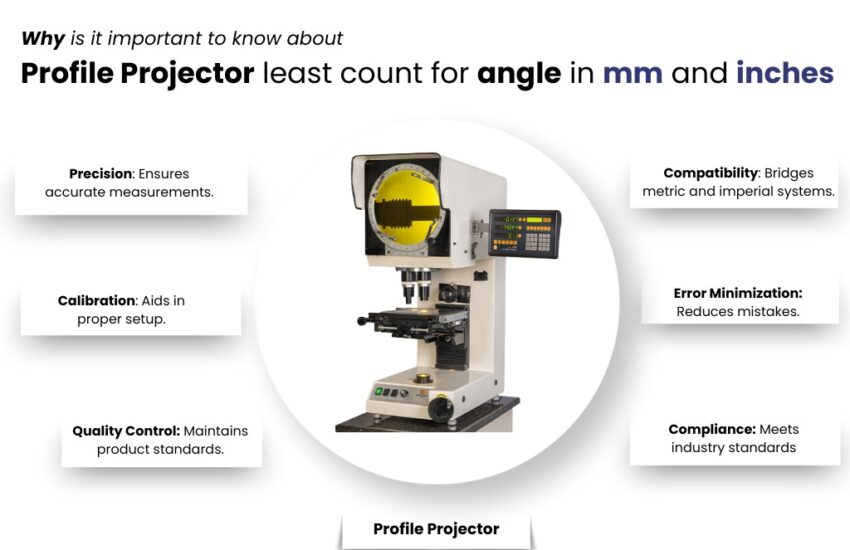
A profile projector is a sophisticated device that magnifies the silhouette of a component onto a screen to measure its dimensions and geometry to meet the specifications of the component. This process not only ensures that each part meets stringent specifications but also facilitates a non-contact measurement method, preventing delicate components.
Key Components of Profile Projector
- Glass Screen: The glass screen is the canvas where the magic happens. It displays the enlarged shadow of the object, complete with lines or marks that help in precise measurement.
- Screen Rotation Wheel: The rotation wheel offers the flexibility to align the projection with the screen’s grid, enabling accurate angle measurements.
- Lens Turret: Contains multiple lenses according to the magnification requirement for the measurement, allowing for easy switching between magnification levels, according to parts of various sizes.
- Lenses: The heart of the profile projector plays a vital role in providing accuracy. These high precision-optical elements magnify the component placed on the Workstage.
- Illumination Light: Proper lighting is essential for the profile projector of each detail and shows the accurate and clear outline of the measurement.
- Workstage Moving Wheel: This wheel offers the movement of the Workstage and facilitates the examination of different profiles of the component without manual repositioning.
- Workstage: The stage where the part is placed, designed to secure it during inspection with fixtures or supports.
- Control Panel: The operator’s interface with the projector includes controls for focus, brightness, and sometimes digital measurement.
- Focusing Wheel: Adjusting the focus ensures the projected image is clear, enabling precise measurement.
The Importance of Quality Control
Each component of the profile projector plays a vital role in the accuracy and reliability of measurements. This tool is well known in metrology, the science of measurement, ensuring that manufactured parts adhere to the highest standards of quality.
Advantages of Profile projectors
Versatility
Profile Projectors are used to measure a wide range of components, which makes them highly versatile tools.
Accuracy and Precision
Profile projectors provide high accuracy and precision in dimensional measurement tasks.
Time Efficiency
Profile projectors are capable of quick and accurate measurement and inspection, speeding up the whole manufacturing process.
Conclusion
Understanding the parts of the profile projector and its functionality is essential for anyone who is working in quality control in manufacturing. Accurate and reliable measurements are the backbone of the manufacturing industry.
FAQs
What is a profile projector used for?
It is used in quality control processes, to measure and inspect the small size parts or components.
How does a profile projector work?
A profile projector shows the enlarged shadow of a part that is placed on the Workstage.
What makes the lenses in a profile projector important?
The lenses determine the clarity and accuracy of the projection, which are critical for precise measurements.
Why is non-contact measurement important?
It prevents damage to delicate parts while measuring.


