What is the Difference Between CMM and VMM?
The World of Precision measurement includes terms like CMM (Coordinate Measuring Machine) and VMM (Vision Measuring Machine) which are in trend in the measurement world. These are two essential tools in quality control and manufacturing processes, ensuring components meet strict specifications. In the measurement field, both machines have the same destination, but CMM and VMM differ significantly in their technology, capabilities, and applications. Explore this blog to become aware of those differences, shedding light on which machine suits specific needs better.
Understanding CMM (Coordinate Measuring Machine)
CMM is a device used in manufacturing, assembly and processes to measure the physical geometrical characteristics of an object. Operators can operate the machine manually or with the help of a computer, giving high accuracy in three-dimensional measurements.
How CMM Works?
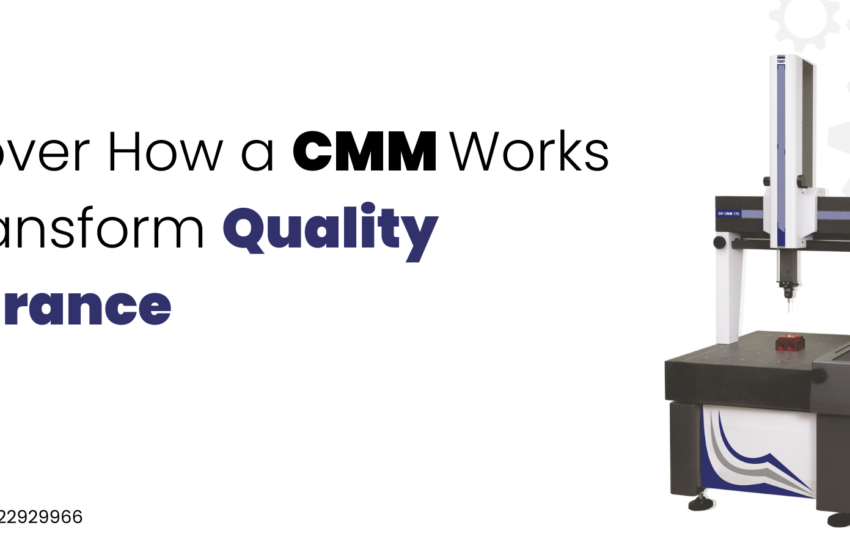
CMMs have a probe to touch the object’s surface and record the precise coordinates on the X, Y, and Z axis. This probe can be an optical laser, a mechanical touch probe, and a white light sensor. The data that the probe collected is processed by the machine’s software, which helps in creating detailed 3D models and measurement reports.
Applications of CMM:
- Automotive Industry: To check the alignment and dimensions of engine parts.
- Aerospace: Measure complex parts like turbine blades.
- Machining: To measure the accuracy of fabricated parts.
Advantages of CMM:
- High Accuracy: CMMs are well known for their precise measurements, often within microns.
- Versatility: Can measure various attributes like size, shape, and position.
- Automation: Modern CMMs can be fully automated, which will improve efficiency and consistency.
Understanding VMM (Vision Measuring Machine)
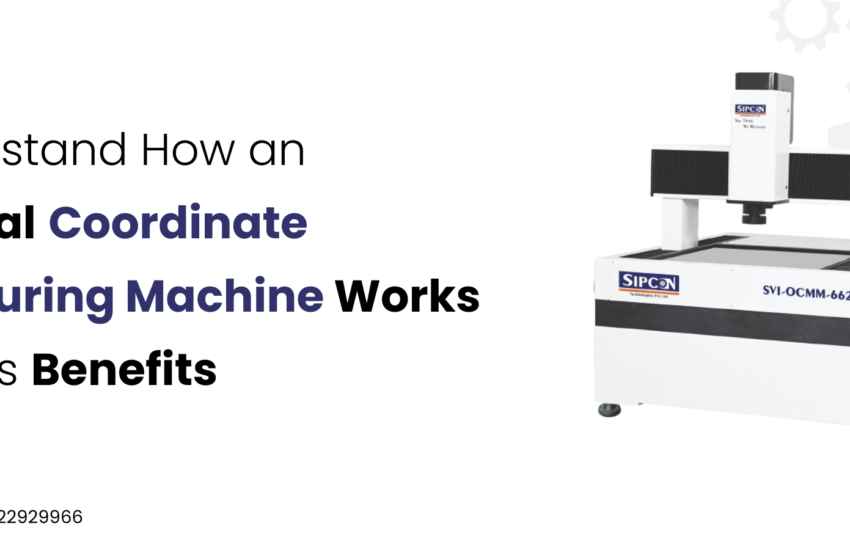
A VMM is also called an Optical CMM, which uses vision technology to measure all the dimensions of an object. VMMs use high-resolution cameras and optical sensors to capture the images and analyze the measurements.
How VMM Works?
VMMs project light on the object’s surface and capture the reflected image of the part using high-resolution cameras. After capturing the image the software processes these images to determine the dimensions and other geometrical characteristics of the object. For enhanced precision, the advanced VMMs can combine optical measurement with laser scanning.
Applications of VMM:
- Electronics: Ideal for small components like circuit boards.
- Medical Devices: Ensures the precision of intricate medical instruments.
- Plastic Parts: Inspection of injection-molded parts.
Advantages of VMM:
- Non-Contact Measurement: Ideal for soft parts that could be damaged by touch probes.
- Speed: Faster measurement process and suitable for high-volume inspections.
- Detail: Capable of detailed capturing of complex shapes that may be challenging for tactile probes.
Key Differences between CMM and VMM
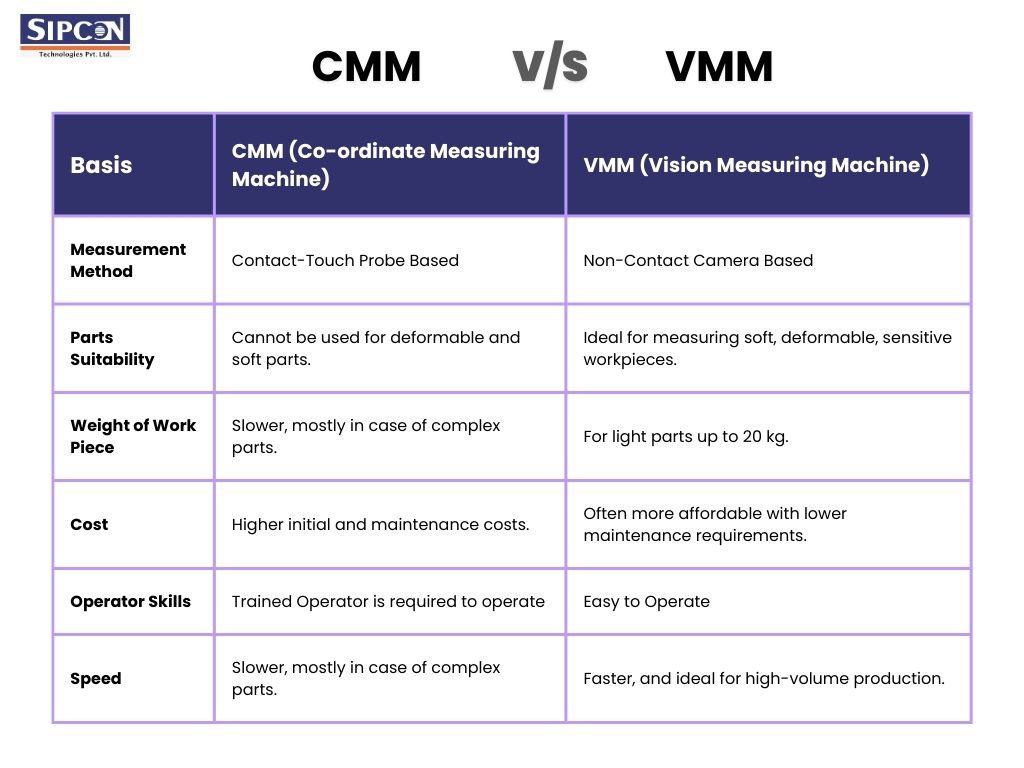
Measurement Method:
- CMM: Physically touches the part with the use of a tactile probe.
- VMM: Capture images of the part with the use of optical sensors and cameras.
Parts suitability:
- CMM: Cannot be used for deformable and soft parts.
- VMM: Ideal for measuring soft, deformable, sensitive workpieces.
Speed:
- CMM: Slower, mostly in the case of complex parts.
- VMM: Faster, and ideal for high-volume production.
Weight of workpieces:
- CMM: measures heavier parts up to 500kgs.
- VMM: For light parts up to 20kgs.
Cost:
- CMM: Higher initial and maintenance costs.
- VMM: Often more affordable with lower maintenance requirements.
Operator skills:
- CMM: Skilled operator required.
- VMM: Easy to operate
Choosing Between CMM and VMM
Several factors affect the choice of CMM and VMM:
- Type of Material: For soft and small components, a VMM is the better choice.
- Required Accuracy: For higher precision, a CMM might be more suitable.
- Production Volume: For high-speed inspection in mass production, a VMM is a better choice.
- Complexity of Part: CMMs are ideal for the parts with hidden features that require probing.
Conclusion:
Both CMM and VMM play their roles in ensuring the precision and quality of manufactured parts. It will become easy for the manufacturers to choose the right tool for their specific needs this all can happen after understanding the difference between both machines. By understanding the strengths of each machine, industries achieve optimal results in their quality control processes.


